Manual.ly Logo

Chicco Baby Hug 4 in 1 Kayttoohje

0,0 · 0 Arviot

PDF-käyttöopas · 112 Sivua

Suomi

M: GO-GEM-FL-25
sivu

/ 112

Loading...
c2b283e0701ef547d8f033ee65ada21c6ffd page 10
16
17
CLEANING
Clean the plastic parts with a soft damp cloth. Never use
abrasive detergents or solvents. If the highchair comes
into contact with water, dry the metal parts to prevent
the formation of rust.
MAINTENANCE
• This product requires periodical maintenance.
• Cleaning and maintenance operations must only be
carried out by an adult.
• Periodically check the product for broken, damaged or
missing parts: do not use it in this case.
• To avoid friction that may compromise the correct
functioning of the product, ensure that all the moving
plastic parts located along the metal frame are free of
dust, dirt and sand.
• If necessary, lubricate the moving parts with dry sili-
cone lubricant.
• Store the product in a dry place.
COMPONENTS
The product is completely disassembled when pur-
chased; check that all of the components listed below
are present. If any part is missing contact ARTSANA’s
CUSTOMER SERVICES.
The product and all of its components must always be
assembled by an adult.
A - Height adjustable pedestal frame
A1 - 4 wheels with brakes
B - Seat frame
C - Seat structure
D - Tubular seat frame
E - Fabric (with shoulder straps)
F - Booster cushion
G - Toybar
G1 - Light / sound game buttons
G2 - 3 soft toys
I - Upper fabric zips
L - Plastic clips
M - Height adjustment pedal
N - Backrest recline lever
ASSEMBLY
The product is not assembled when purchased. To use
it, carry out the following assembly operations:
1. The rst thing to do is assemble the “A1” wheels on
height adjustable base frame “A”. To do this place the
frame on a rug or soft surface so as not to damage the
oor or frame. Assemble the 4 “A1” wheels inserting
the pins in the 4 holes under height adjustable base
frame “A” as shown in gure 1.
WARNING: Fully insert the wheel pin into the hole in
the base. At this point the base can be rested on the
oor.
2. Insert the fasteners of seat frame “B” into the respec-
tive tubes on seat structure “C” until they click into
place (Fig. 2).
3. Assemble the seat (seat frame “B” + seat structure
“C”) on the base: insert the two tubes on base “A”
into the corresponding holes on seat frame “B” until
they click into place (Fig. 3).
WARNING: The backrest must face the height adjust-
ment pedal (I) as shown in Fig. 3a.
4. Insert tube “D” into the corresponding holes on seat
frame “B” until they click into place (Fig. 4).
5. To assemble fabric “E” line up the holes on the fabric
with the restraint system installed on seat structure
“C”. Pass the two lateral arms of seat frame “B” through
the side fabric holes (FIG. 5), insert the pins of the
arms into the holes on either side of the backrest (FIG.
5a) until they click into place.
WARNING: Check that both arms are assembled cor-
rectly.
6. Attach fabric “E” using the two perimeter zips above
seat frame “B” (Fig. 6).
7. Pass the crotch strap and waist straps on seat struc-
ture “C” through the holes of fabric “E” (Fig. 7-7a-7b-
7c).
8. Attach the fabric (E) to the bottom of seat structure
“C”, making sure to insert all of the plastic clips in the
right slots (Fig. 8-8a).
BOOSTER CUSHION
9. Reducer cushion “F” is ideal from birth and can be
used or removed as necessary. To attach it to the
seat, place it on the fabric, pass the crotch strap and
waste straps through the holes in booster cushion “F”
(reclined cradle mode), (Fig. 9). In highchair mode it
is also necessary to pass the shoulder straps through
the holes of the booster cushion (Fig. 9a).
TOYBAR
10. The toys can be attached to the toybar by passing the
straps through the plastic openings on the bar (Fig.
10) and fastening the velcro.
11. Assemble the toybar (with the light positioned to-
wards backrest recline lever “N”) inserting the pins of
the bar into the holes on seat frame “B” until it clicks
into place (Fig. 11).
12. To incline the toybar in the three possible positions
press the side buttons (Fig. 12).
13. To remove the toybar press the buttons on the inside
of the bar support and pull upwards (Fig. 13).
WARNING: Always check that the toybar is properly
fastened before using it.
WARNING: To prevent possible injury by entaglement,
remove this toy when the child starts trying to get up
on its hands and knees in a crowling position.
HEIGHT ADJUSTMENT
14. Once assembled, the product can be adjusted to
various heights in all congurations. To adjust its
height, hold down height adjustment pedal “M” (Fig.
14) and lift or lower the seat to the desired height.
ADJUSTING THE BACKREST
15. The backrest can be adjusted to four dierent posi-
tions. To do this, push down on backrest recline lever
“N” (Fig. 15).
Position 1 – Crib mode (Fig. 15a)
Position 2-3 – Reclined cradle mode (Fig. 15b)
Position 4 – Highchair and rst chair at the table mode
(Fig. 15c)
These adjustments can also be made with your child
seated in the product. In this case it will be slightly more
dicult.
WARNING: Always check that the backrest is properly
locked before use.
USING THE SAFETY HARNESS
16. With fabric “E” assembled on seat structure “B”, there
will be a crotch strap, two waist straps and two
shoulder straps (Fig. 16).
17. CRIB MODE - WARNING: Completely remove all
safety harnesses making sure to keep them out of
the reach of your child (Fig. 17).
18. RECLINED CRADLE MODE - WARNING: A 3-point
restraint system must be used: crotch strap + waist
straps (Fig. 18).
19. After placing your child in the seat, reclined cradle
mode, fasten the straps by passing the two prongs
through the crotch strap buckle; adjust the waist
straps so that they t closely around your child’s
waist (Fig. 19).
20. HIGHCHAIR AND FIRST SEAT AT THE TABLE
MODE - WARNING: A 5-point restraint system
must be used: crotch strap + waist straps + shoulder
straps (Fig. 20).
WARNING: In this conguration the toybar must al-
ways be positioned behind the backrest.
21. After placing your child in the seat in highchair
mode, fasten the straps by passing the two prongs
through the shoulder strap buckle (Fig. 21) and then
through the crotch strap buckle (Fig. 21a); Adjust the
height of the shoulder straps so that they correctly
t your child’s shoulders.
Always make sure that the straps are fastened correctly.
To unfasten the strap, press and pull the side prongs.
WARNING: When using the product, always fasten the
straps by inserting them in the crotch strap and check
that they are tight enough and properly fastened.
22. The safety harness straps can be removed (for washing
or for use in the crib/reclined cradle conguration).
To remove the harnesses pull the waist and crotch straps
out from the holes in the fabric (Fig. 22-22a-22b) until
they are hidden on the seat frame and pull the shoulder
straps out from the fabric holes on the backrest (Fig. 22c
-22d). After removing the safety harnesses, make sure
that the harnesses are correctly re-assembled.
To re-assemble the safety harnesses, carefully follow the
steps below:
23. Follow point 7 of the ASSEMBLY paragraph to re-
assemble the waist straps and crotch strap. For the
shoulder straps, pass the strap through the hole as
shown in Fig. 23, making sure that the length adjust-
er is positioned as shown in the gure.
Take the plastic hole of the shoulder straps and pass it
through the fabric ring of the harness (Fig. 23a).
Having performed this operation correctly, pull the har-

Keskustele Chicco Baby Hug 4 in 1-käyttöoppaasi kanssa tekoälyn avulla

Saa välittömiä tekoälyvastauksia Chicco Baby Hug 4 in 1-käyttöoppaastasi

Kysy mitä tahansa tuotteesta Chicco Baby Hug 4 in 1. Vastaukset tulevat tästä ohjeesta, mukana sivut, joihin ne perustuvat.

Baby Hug 4 in 1 Huoltoaikataulu

Jokaisen pesun jälkeen
Tarkista kangas ja saumat

Varmista kankaan ja saumojen kestävyys jokaisen pesun jälkeen turvallisuuden varmistamiseksi.

Säännöllisesti
Tarkista vauriot

Tarkista tuote säännöllisesti rikkoutuneiden, vaurioituneiden tai puuttuvien osien varalta äläkä käytä, jos sellaisia löytyy.

Säännöllisesti
Puhdista liikkuvat muoviosat

Poista pöly, lika ja hiekka metalliputkien päällä liukuvista muoviosista kitkan estämiseksi.

Tarvittaessa
Voitele liikkuvat osat

Käytä kuivaa silikonivoitelua liikkuvissa osissa tarvittaessa oikean toiminnan varmistamiseksi.

M: QW-35-FL

Kysy kysymys

0/1000

Suositteletko Baby Hug 4 in 1?

Kyllä Ei

Usein kysytyt kysymykset

A

Sitä voidaan käyttää syntymästä alkaen pinnasänky- ja nojaavassa kehtoasennossa aina 9 kiloon asti, ja noin 6 kuukaudesta alkaen syöttötuoli- ja ensimmäisen tuolin tilassa 36 kuukauteen ja 15 kiloon asti.

Onko tämä vastaus hyödyllinen?

A

Ei. Nojaava kehto ei ole tarkoitettu pitkäaikaiseen nukkumiseen. Jos lapsen täytyy nukkua pidempään, tulisi käyttää kunnollista pinnasänkyä tai sänkyä.

Onko tämä vastaus hyödyllinen?

A

Kyllä. Leikkikaari voidaan kiinnittää tai irrottaa tarpeen mukaan. Syöttötuolimoodissa sen on aina oltava selkänojan takana turvallisuuden vuoksi.

Onko tämä vastaus hyödyllinen?

A

Kangas tulisi pestä käsin vain kylmässä vedessä. Älä valkaise, rumpukuivaa, silitä tai kuivapeseta sitä. Tarkista saumat ja kankaan kunto pesun jälkeen.

Onko tämä vastaus hyödyllinen?

A

Kyllä. Kaikki neljä pyörää on lukittava aina, kun tuotetta käytetään, jotta se pysyy vakaana ja liikkumisen tai kaatumisen riski pienenee.

Onko tämä vastaus hyödyllinen?

A

Tarkista, että kaikki osat on koottu oikein, lukitusmekanismit ovat kiinni, valjaat on asetettu kunnolla eikä mikään osa ole rikki, repeytynyt tai puuttuva.

Onko tämä vastaus hyödyllinen?

M: GO-GEM-FL-25

Etuja ja Haittoja

Edut

  • 4-in-1-rakenne kasvaa lapsen mukana syntymästä 36 kuukauteen.
  • Säädettävä korkeus ja kallistettava selkänoja tukevat erilaisia arjen rutiineja.
  • Irrotettava leikkikaari valoilla ja äänillä tarjoaa viihdykettä varhaisvaiheessa.
  • Pestävät, irrotettavat kangas- ja valjasosat helpottavat puhdistusta ja hoitoa.
VS

Haitat

  • Tilan vaihtaminen vaatii huolellista aikuisten kokoamista ja säännöllisiä turvallisuustarkistuksia.
  • Tuotetta on aina käytettävä oikean kiinnitysjärjestelmän kanssa.
  • Pinnasänky- ja nojaavan kehdon tilat on rajattu melko lyhyeen ikävaiheeseen.
  • Leikkikaaren paristot ja liikkuvat osat vaativat ajoittaista huoltoa ja tarkkaavaisuutta.
M: GO-GEM-FL-25

Tuote Erittely

Paino

10,20 kg

Mitat (LxKxS)

850x880-1220x600 mm

Ominaisuudet

korkeussäädettävä, muunnettavissa syöttötuoliksi, melodiatoiminto

M: GO-GEM-FL-25

Tuotteen Kuvaus

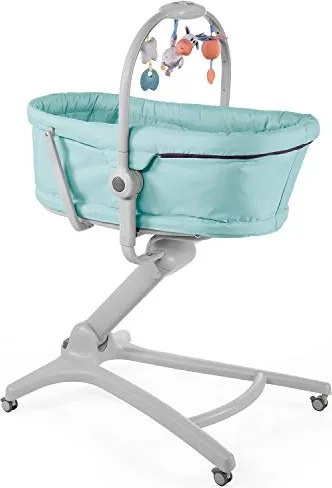
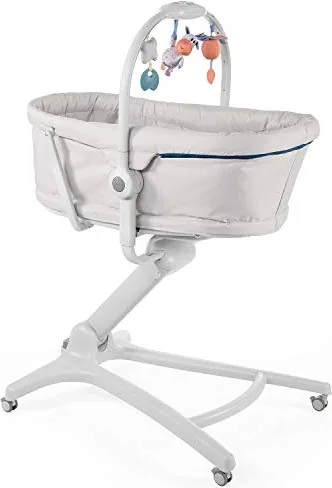
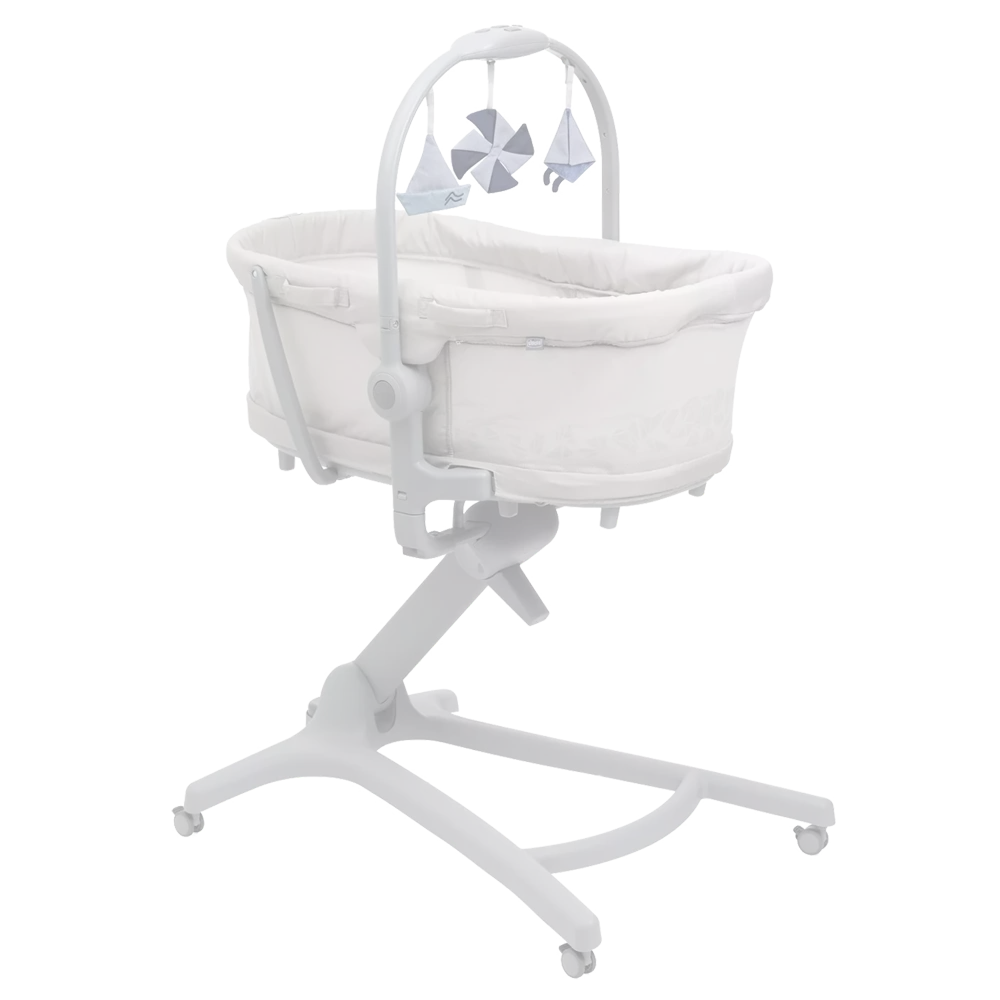
Chicco Baby Hug 4 in 1 -kori: yksi fiksu istuin lapsen ensimmäisille kolmelle vuodelle

Chicco Baby Hug 4 in 1 -kori erottuu monipuolisena lastenhuoneen apurina, joka kulkee lapsen mukana useissa varhaisvaiheissa yllättävän vaivattomasti. Ensimmäisistä kotipäivistä taaperovuosille asti se voi toimia pinnasänkynä, nojaavana kehtona, syöttötuolina ja ensimmäisenä tuolina pöydässä. Tämä joustavuus tekee siitä houkuttelevan vanhemmille, jotka arvostavat kompakteja ratkaisuja mukavuudesta tai käytännöllisyydestä tinkimättä.

Pinnasänkymoodissa se tarjoaa viihtyisän lepoalueen vastasyntyneille aina 9 kiloon asti, ja nojaava kehtoasento antaa perheille mukavan paikan valvottuun rentoutumiseen varhaisina kuukausina. Myöhemmin, kun lapsi pystyy istumaan itsenäisesti, tuote muuttuu syöttötuoliksi ja ensimmäiseksi tuoliksi, joka sopii ruokailuun ja arjen yhteisiin hetkiin 36 kuukauteen ja 15 kiloon asti. Lopputuloksena on yksi vauvanvaruste, joka mukautuu muuttuviin rutiineihin sen sijaan, että jäisi käyttämättömäksi muutaman kuukauden jälkeen.

Suunnittelussa on panostettu myös käytännöllisyyteen. Säädettävä korkeusjärjestelmä auttaa istuimen sovittamisessa erilaisiin kalusteratkaisuihin, ja selkänoja voidaan kallistaa useisiin asentoihin käyttötarkoituksen mukaan. Irrotettava leikkikaari valoilla, äänillä ja pehmoleluilla tuo kiinnostavaa lisäsisältöä, erityisesti alkuvaiheissa. Monille vanhemmille Chicco Baby Hug 4 in 1 -kori -ohjeista on hyötyä, koska ne selittävät, miten eri tilojen välillä siirrytään turvallisesti ja miten jokaisesta kokoonpanosta saadaan paras hyöty.

Toinen vahvuus on arjen huolto. Irrotettavat tekstiiliosat, turvavaljaat ja helposti puhdistettavat pinnat tekevät tuotteesta helpomman hallita kiireisissä kodeissa. Tuote on rakennettu myös vakauteen ja valvontaan painottaen, ja se muistuttaa huoltajia pitämään pyörät lukittuina, tarkistamaan lukituskohdat ja käyttämään oikeaa kiinnitysjärjestelmää jokaisessa tilassa. Nämä yksityiskohdat ovat tärkeitä, koska monitoimituotteen pitäisi tuntua yhtä turvalliselta kuin käytännölliseltä.

Huomioita

  • Sopii parhaiten vanhemmille, jotka etsivät pitkäikäistä ja tilaa säästävää ratkaisua.
  • Noudata aina asennusvaiheita huolellisesti ennen jokaista tilan vaihtoa.
  • Säännöllinen tarkastus ja asianmukainen puhdistus auttavat säilyttämään suorituskyvyn ja ulkonäön.
  • Leikkikaari on hauska pienemmille vauvoille, mutta se tulisi poistaa, երբ lapsi muuttuu liikkuvammaksi.
M: GO-GEM-FL-25

© Copyright 2026 Manual.ly